The Graphical User Interface (GUI)
After checking for updates, geocoder.exe will prompt the user with two run options:
Choose an option:
[1] Run with the user-interface
[2] Run with the .yml config
[Any other key]: exit:
Press 1 to use the user interface. A window will open up in your default browser.
Running the Geocoder
Choose a run type
You have the option to geocode a new file, or resume a partially geocoded file. Because geocoding may take a while, the option to resume a file exists to continue files that may have been partially geocoded and interrupted.

Configuring your run
1. Choose your settings input method
Choose whether or not you wish to manually enter the settings, or load the settings from a configuration file.
Loading the settings from a configuration file will prepopulate any configuration values set in that file.
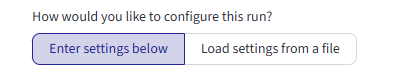
If you choose to manually configure the run, skip ahead to step 2.
If you choose to load an existing config, click the file load widget. You be able to navigate the files on your local machine, and select which to upload. Once you upload the existing config, the fields on the interface will be populated for you.
2. Enter your API key and input file

You will need to provide:
-
The AIS API key. Required. Enter the AIS API key provided to you by CityGeo.
-
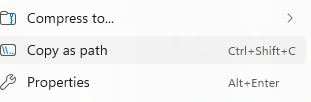
The Input File field. Paste in the full file path of the file that you wish to enrich. You can do this by finding the file in your file explorer, right clicking it, and selecting 'Copy as path', and then pasting the result in the input field.
3. Load and preview your file
Once you have entered the API key and the input file, click the "Load file" button. This will render a preview of the file.

4. Map your address fields
Next, map your address fields:
You can map a single address field (if all address information on your input file is on the same line)

Or you can map separate address / city / state/ zip fields

5. Select enrichment fields (new files only)
If you are starting a new file, select which enrichment fields you want to add:
Choose which SRIDs you would like to geocode for. You have an option between WGS 84 (4326), the Pennsylvania State Plane (2272), or both.

Select which additional optional enrichment fields you wish to add to your data. There are around 80 to choose from. You can use the selection widget to search for options if you don't wish to scroll through everything.
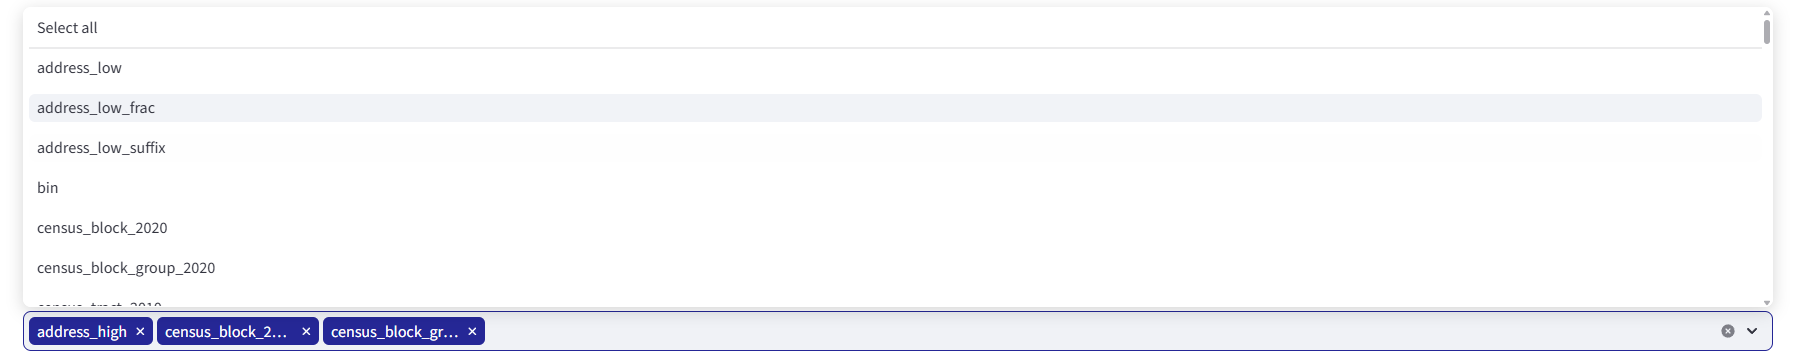
This option will not appear if you are resuming a partially geocoded file, because the enrichment fields must match what is in the partially geocoded file.
6. Geocode and retrieve results
Once the required fields are entered, a geocode button will appear. You can geocode the file.
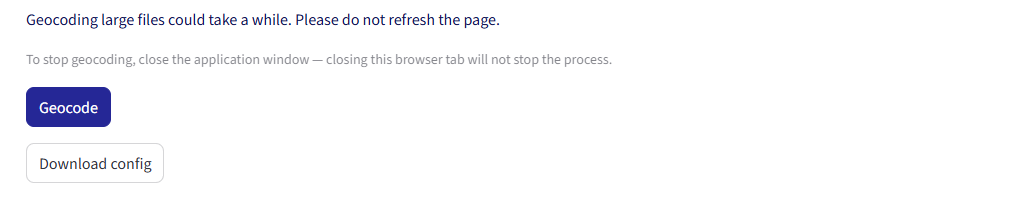
Do not close the browser while geocoding is in progress — you will be unable to download your results.
When geocoding is completed, you will see a green notification appear, containing the filepath of the geocoded file.
To close the geocoder, you will need to close both the browser window and the terminal window running geocoder.exe.

7. Saving your config for later
You have the option to press the download config button to save the settings you just input for later. You can then on a subsequent run choose to load settings from a file and have the values you just selected prepopulate for you.
1. Enter your API key and input file
You will need to provide:
-
The AIS API key. Required. Enter the AIS API key provided to you by CityGeo.
-
The Input File field. Paste in the full file path of the file that you wish to enrich. You can do this by finding the file in your file explorer, right clicking it, and selecting 'copy as path', and then pasting the result in the input field.
Note:
The input file should still be the file path of the original input file you used to geocode, not the partially geocoded file. Keep in mind, that the partially geocoded file must also exist in the same folder as the input file for this to work.
2. Load and preview your file
Once you have entered the API key and the input file, click the "Load file" button. This will render a preview of the file.
3. Map your address fields
Next, map your address fields.
Warning
The address field mapping must match the address field mapping from the initial file run. Unexpected behavior will occur if they do not match.
You can map a single address field (if all address information on your input file is on the same line)
Or you can map separate address / city / state/ zip fields
4. Geocode and retrieve results
Once the required fields are entered, a geocode button will appear. You can geocode the file.
Do not close the browser while geocoding is in progress — you will be unable to download your results.
When geocoding is completed, you will see a green notification appear, containing the filepath of the geocoded file.
To close the geocoder, you will need to close both the browser window and the terminal window running geocoder.exe.
5. Saving your config for later
You have the option to press the download config button to save the settings you just input for later. You can then on a subsequent run choose to load settings from a file and have the values you just selected prepopulate for you.